Fitbit recently kicked off Find Your Reason, a new campaign that encourages everyone to find—and celebrate–what makes them want to live a healthier life. Hopefully you’ve been thinking about your reason. Maybe, like Rachel W., it’s getting and staying healthy for your child. Or, like Kiyoshi M., it’s your career.
Whatever your reason, it’s likely an endless source of inspiration, motivation, and pride. Now imagine being able to have that super-motivator with you for every walk, run, meal, and even those low-morale moments.
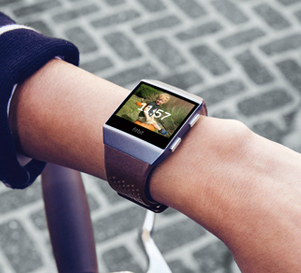
With Fitbit Ionic you can. That’s because it runs on Fitbit OS, a proprietary operating system designed to help you achieve your goals. And that starts with the first thing you see when you look at the watch: the clock face.
There are currently more than 100 clock faces—from sleek and professional to fun and fitness focused—for you to choose from. Many were created by Fitbit, but even more were made by outside developers using Fitbit Studio, a web browser-based tool that allows developers to create and edit apps using the Fitbit Software Development Kit, or SDK.
But you don’t have to be a Fitbit designer or a professional developer to create your own Fitbit Ionic clock face. Anyone can do it. Yes, even you, who may not know html from a ham sandwich. This step-by-step tutorial will teach you how.
Before You Get Started, Here’s What You’ll Need
- A Fitbit user account. Log in or create an account for free.
- A Fitbit Ionic with more than 25 percent battery life
- The latest Fitbit mobile app for your Android, iOS, or Windows phone, paired with your Fitbit Ionic via Bluetooth
- A computer with solid internet access
- A wireless network to provide Fitbit Ionic a connection to the internet.
- A picture (348 x 250 pixels in size) that you want to use as the background of your clock face. Save it to your desktop as a .jpg or .png file. (Need to resize your image? Use a free web-based photo editor.)
How to Create Your Own Fitbit Ionic Clock Face
Step 1
Open a web browser on your computer (Google Chrome is recommended for the best experience) and log into Fitbit Studio using the same Fitbit account that you’re using to log into the Fitbit app on your phone.
Step 2
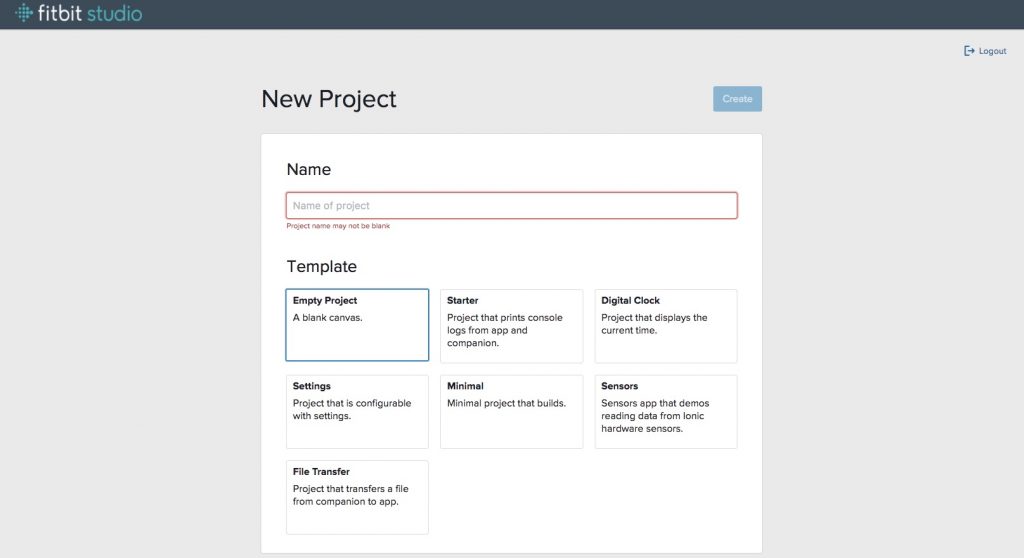
Accept the Fitbit Platform Terms of Service. Once you’re successfully logged in, you’ll be taken to the following screen. Leave it open and move onto Step 3.
Step 3
Before beginning a new project in Fitbit Studio, you’ll need to make sure your Ionic is running the latest firmware. (Firmware is just a fancy word for the software that helps your Ionic run; Fitbit sends firmware updates to your device via the Fitbit app when new features and bug fixes are added).
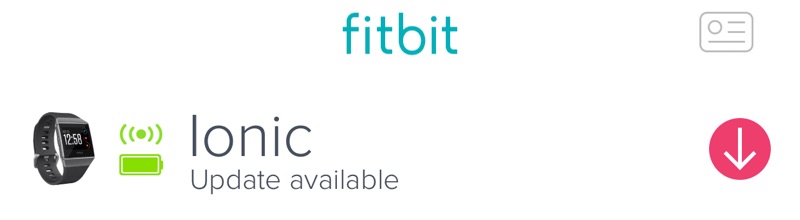
If a new firmware version is ready for download, you’ll see a pink icon, which you can press to begin the update. Please wait at least 10 minutes for this prompt to show up after signing into Fitbit Studio.
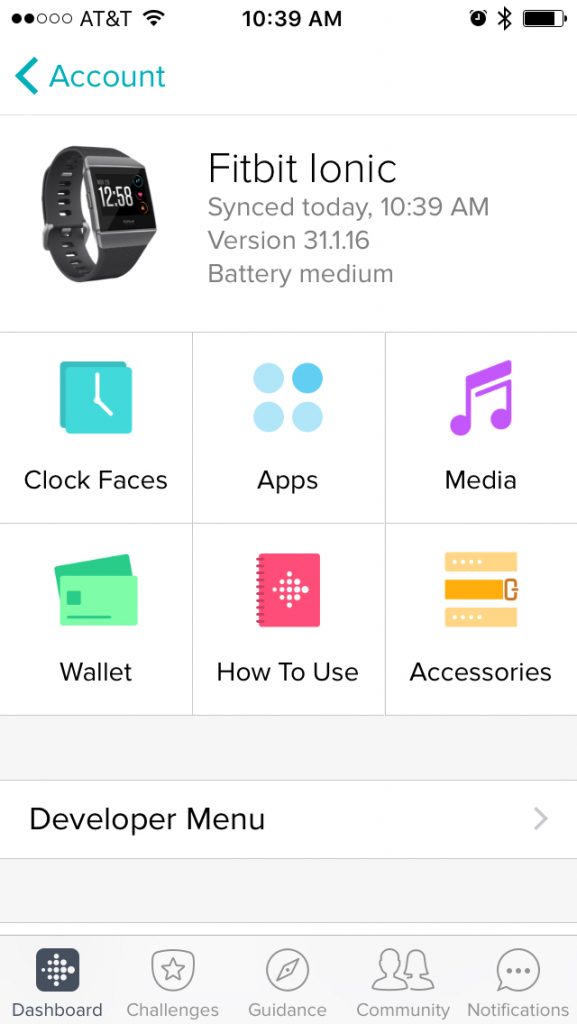
If you’re not prompted to download an update, you may already be running the most recent firmware. To check, tap the Account icon in the top right corner of the Fitbit app and the tile showing Ionic. You’ll see the firmware version number next to the picture of Ionic. You should be on version 27.31.1.16.
Step 4
You’re ready to start making your clock face. Go back to the “New Project” Fitbit Studio screen you left open on your computer in Step 2.
- Enter a “Name” for your project.
- Select the “Digital Clock” template. (This template creates a minimal clock face that displays the current time, which you can then customize).
- Click “Create.”

Step 5
Before you can build and install the clock face, you need to enable the Developer Bridge on Ionic. The Developer Bridge is what makes it possible for Fitbit Studio, Ionic, and the Fitbit mobile app to share information.
To enable the Developer Bridge:
- Swipe left on Ionic until you see the “Settings” app. Tap the icon.
- Scroll down and tap “Developer Bridge.”
- Wait until it says “Connected to Server” before turning your attention back to Fitbit Studio. It may take up to 20 seconds to establish this first connection, but future attempts should be instantaneous.
Troubleshooting: If your Ionic is unable to connect to the developer bridge, check:
- That WiFi is configured correctly.
- That you’re logged into the Fitbit app and Fitbit Studio using the same username and password
- That your Ionic has more than 25 percent battery life
Need more help? Search for your issue or ask a question in Fitbit’s new SDK Development forum. This glossary of terms can help you learn the lingo.
Step 6
Now it’s time to install the Digital Clock template you chose in Fitbit Studio on Ionic. Go back to Fitbit Studio on your computer’s web browser.
- Click “Select a device” from the toolbar at the top of the page
- Under “Devices” click “Ionic.”
- When the status changes to “Connected” and the indicator light next to “Ionic” in the top toolbar turns green, you know you’re fully connected.
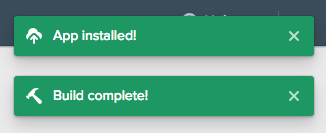
- Click “Run” to the right of that green dot. Green pop-ups should appear that say “App installed!” and “Build complete!”
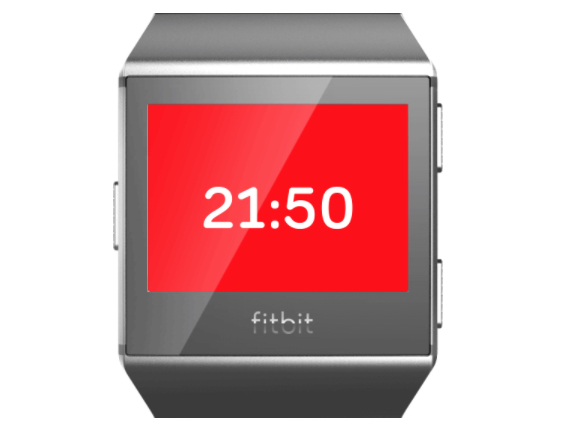
Check your watch. Did the generic clock face below appear? Huzzah! You’re on your way to creating your own Fitbit Ionic clock face.
Step 7
You can now move on to customizing this clock face.
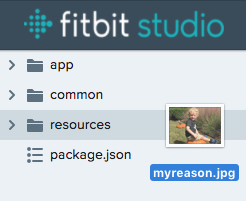
- Remember that image you saved on your desktop? Drag the image and drop it into the “resources” folder in the left-hand navigation panel of your project in Fitbit Studio. You’ll know you’re dropping it in the right spot when the “resources” folder darkens.
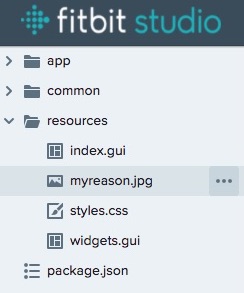
- Now click on the “resources” folder to reveal three files—including the picture you just uploaded—in a dropdown menu. (If you don’t see your file listed, it didn’t upload properly. This is where using Google Chrome may be necessary.)
- Click the “index.gui” file and you will see this:
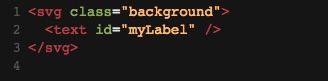
- Cut and paste the text below into the code.
<svg>
<image href=”myimage.jpg“ />
<text id=”myLabel“></text>
</svg>
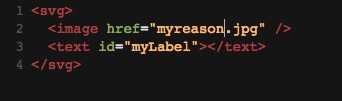
- Change myimage.jpg to the filename of the image you uploaded. In this example, “myimage.jpg” would change to “myreason.jpg.”
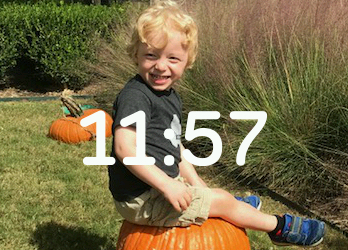
- Click “Run” and your new, personalized clock face will appear on Ionic. Check out this cutie? Who wouldn’t be motivated looking at him every day?
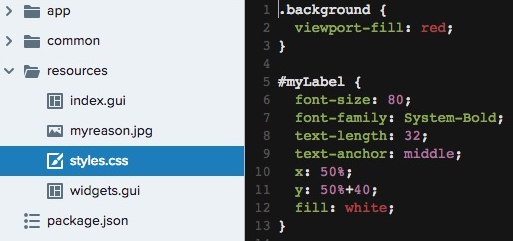
- Want to make some tweaks? You can change the font size, position, and color by clicking on the “styles.css” file and making changes just as you did above. There are a ton of options; familiarize yourself with them using this guide.
- If you’d like to see a 12-hour clock instead of a 24-hour clock, click the arrow next to the “app” folder and then click the “index.js” file. You should see the following:
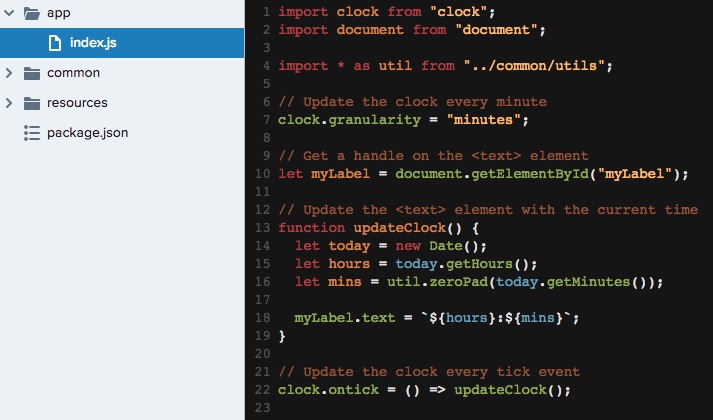
- Change:
let hours = today.getHours(); to let hours = (today.getHours() + 24) % 12 || 12;
- When you’re finished making your changes, click “Run” again and—Voila! You’ve got yourself a pretty awesome personalized Fitbit Ionic clock face.
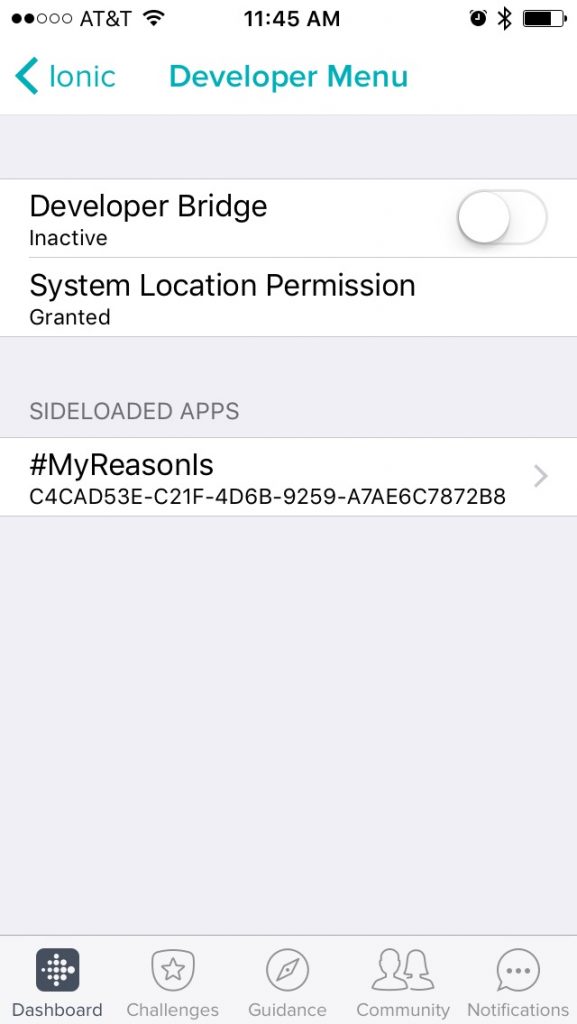
Note: If you ever want to change or remove this clock face, go into your Account in the Fitbit app, tap the Ionic tile, and then tap “Developer Menu.” You should see your clock face listed under “Sideloaded Apps.” Swipe left on that tile and select “Delete” to remove it.
Show the World
Share your clock face on Facebook, Twitter, or Instagram using the hashtag #MyReasonIs.
Happy developing!
This information is for educational purposes only and is not intended as a substitute for medical diagnosis or treatment. You should not use this information to diagnose or treat a health problem or condition. Always check with your doctor before changing your diet, altering your sleep habits, taking supplements, or starting a new fitness routine.
Danielle Kosecki

Senior health and fitness editor Danielle Kosecki is an award-winning journalist who has covered health and fitness for more than 10 years. She’s written for Glamour, More, Prevention, and Bicycling magazines, among others, and is the editor of The Bicycling Big Book of Training. A New York native, Danielle now lives in the Bay Area where she doesn’t miss winter at all.
What am I doing wrong? I have tried this several times and once I run the project my screen goes blank. I can delete and restore back to previous clock face but once i load then it goes back to blank. I tried to follow the instructions to a tee, please help if you can.
sorry email had an extra letter in it.
Where has this been for the fitbit blaze